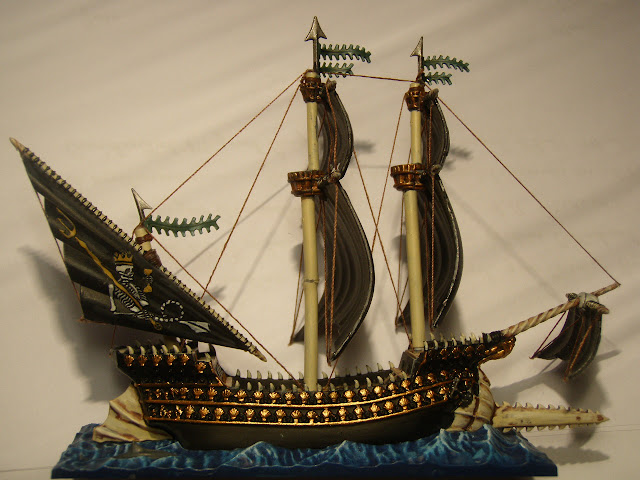
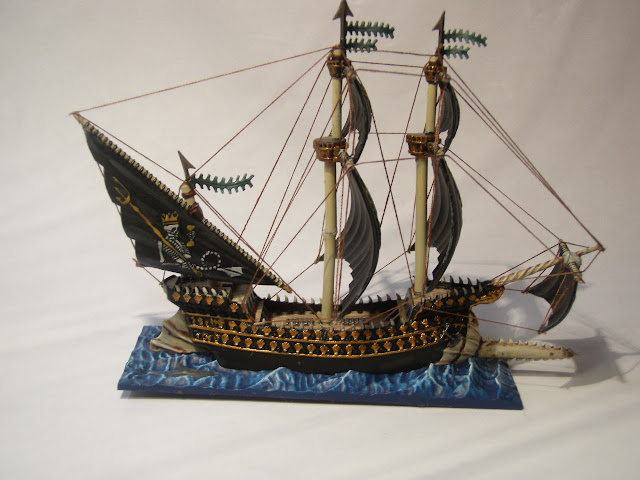
Time for other warship! Today, the Swordfysh. The good thing is that you are already used to what I'm doing, so I can skip the most tedious parts and be more visual.
Some people have told me that my first step (painting) is usually the only one they did! Well, I'm flattered, I'm trying to make the difference here, I think the ships come pretty much impressive with this kind of tiny details. I encourage everyone to try! It's a little boring drill, but it's really worth it ;)
Okay, let's begin. The Swordfysh looks more like a real ship than others, so the technique is pretty much the same I used on the Heldenhammer. First of all, threads under the mainmast:
Something I learned here is that it's a good idea widening the hole on the deck a little. Just a little bit. In this case the hole was quite tight and, once I fixed the threads, there was no room for the mast. No kidding. I broke it and I had to glue it carefully. Since then, I have been widening the holes a little with the tip of my scissors. But be careful not to make a hole too big! Well, lesson learned for the foremast and mizzenmast.
 |
| My public disgrace on the mainmast. No problem, sails will cover it later |
As usual, fix the threads to the sails:
And do the rest of the stuff: glue the sails to the masts and fix some thread from the corners of the sails to the deck, from yardarm to yardarm and so on. I'm not showing you again photos of every thread I glue, just let you figure it out:
 |
| Begins to look like a ship |
 |
| But it's not yet complete |
 |
| Now it is |
 |
| A real ship would have much more rigging |
 |
| But looks fine for me |
As I've told you, I'm not trying to make it for real, it would be absurd on a fantasy ship. But transmitting the idea of a more complete model makes it work for good, so I'm satisfied.
Let me know your thoughts, landlubbers, arrr!!


0 Yorumlar